Your RAW Files Can Look Even Better
Software and techniques to squeeze every drop of goodness from your pictures.
Most enthusiast photographers understand basic RAW format benefits: highlight and shadow recovery, non-destructive edits, and lots of image information.
But there’s even more sweetness to be squeezed from those files, and I’m going to share a few ways to do that in this article.
Why Shoot RAW in the First Place?
In a recent poll, I asked enthusiast photographers: Why do you shoot RAW? The answers are distilled down to three basic reasons.
1) The ability to recover highlights and shadows during editing.
2) The flexibility to adjust the color in post, or convert to a film look.
3) No quality loss resulting from adjustments.
These reasons alone are ample justification to capture in RAW. But there’s more.
Even before you begin creative editing, you have influence over how the RAW file is presented to you. RAW photography is far more malleable than mere tonal adjustments and color tweaks. Many additional benefits are available in what I call preprocessing.
Wait, But First, What Are RAW Files?
In my enthusiasm, I may have skipped ahead. Let’s back up. What are RAW files?
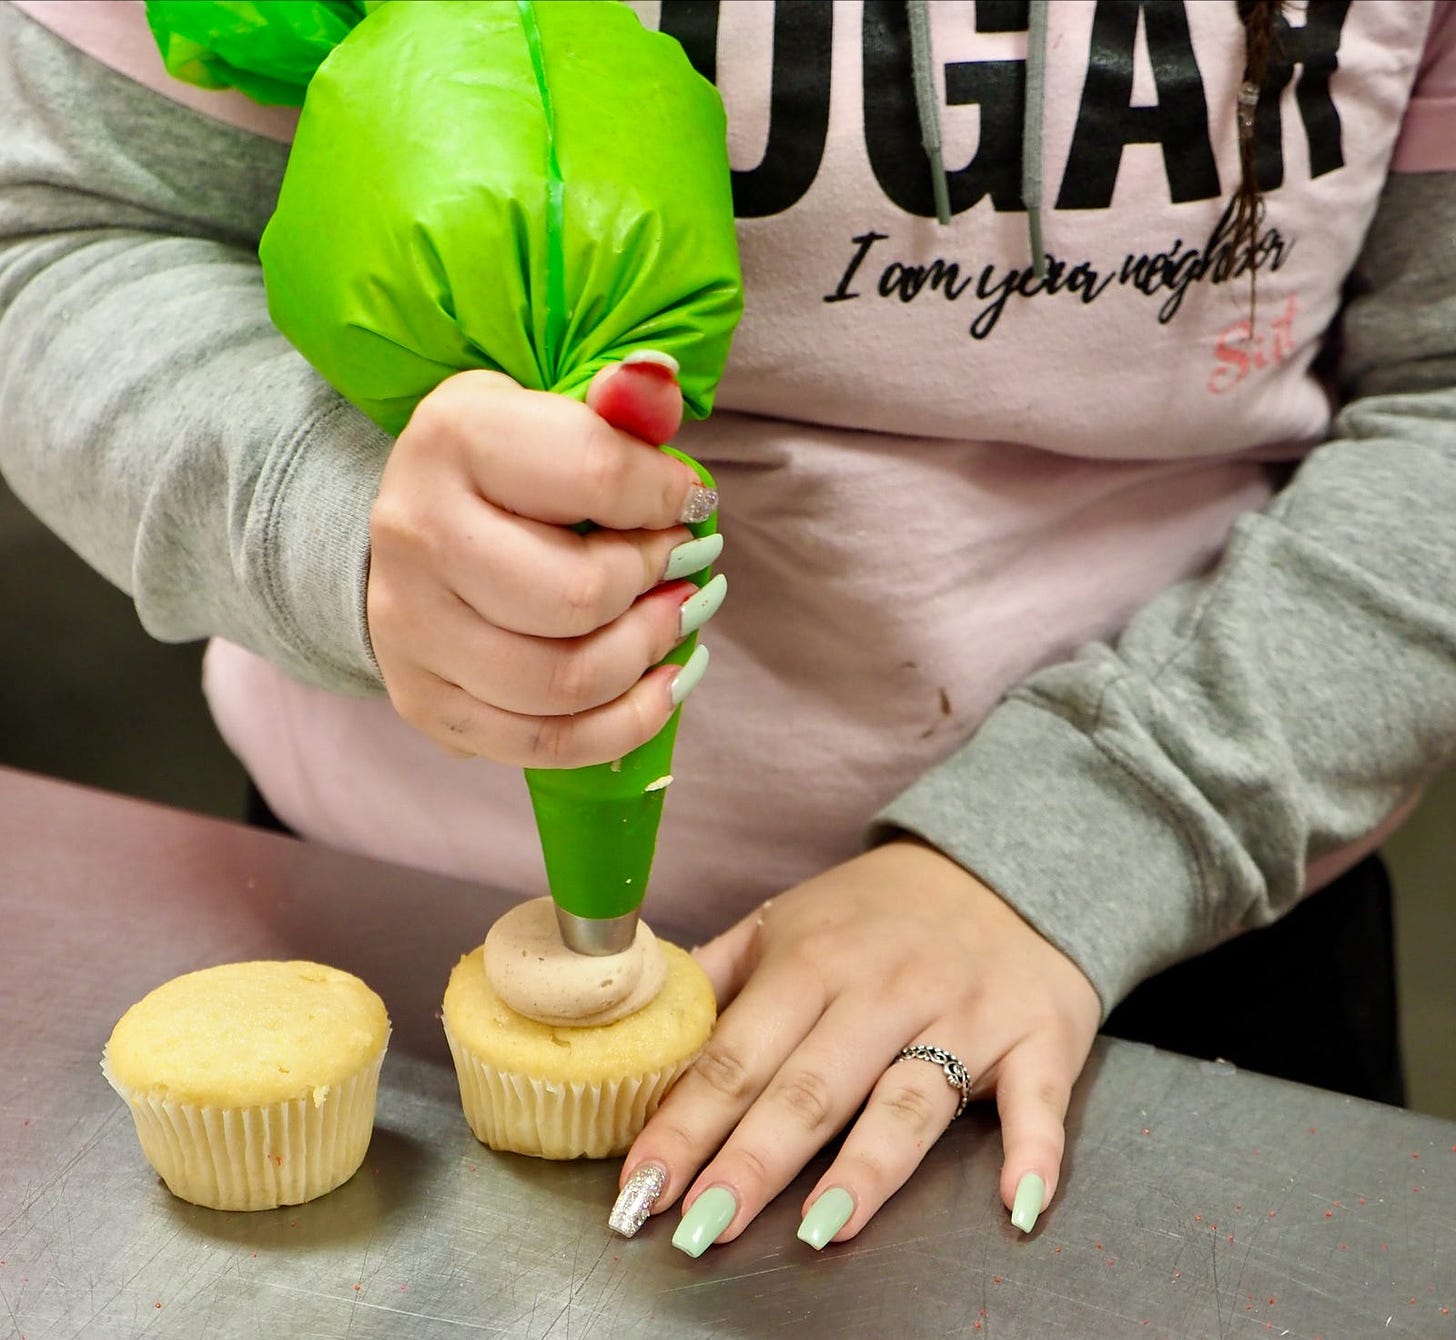
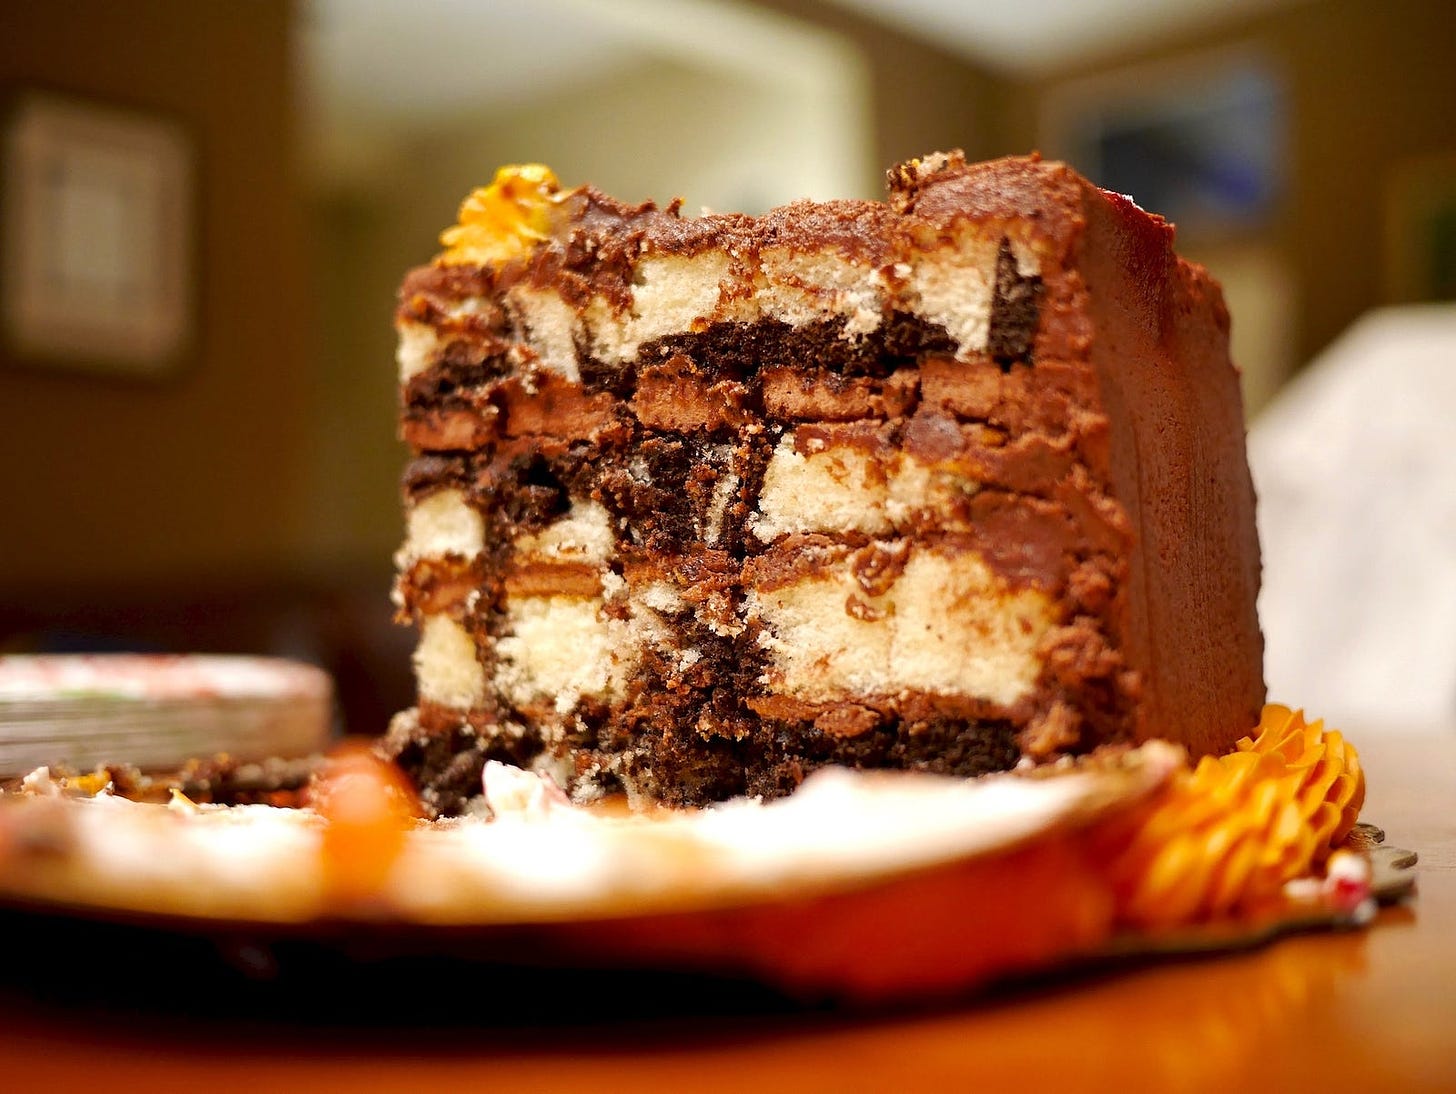
RAW files delivered to your computer from your camera are the equivalent of cake batter that’s been mixed but not baked. All the ingredients are there, but the final outcome has yet to be determined.
A Jpeg, on the other hand, comes out of the camera fully baked. It may be a little dry. Or it could be perfect. But either way, it’s done, and all you can really do at this point is add a little frosting.
Getting back to RAWs, most photographers rely on their image editing software to decode the files. Essentially, the software recommends the oven temperature and length of time for baking. But because it’s a RAW file, you can override those settings. Maybe you want your cake a bit more moist.
How Does the Software Know What to Do?
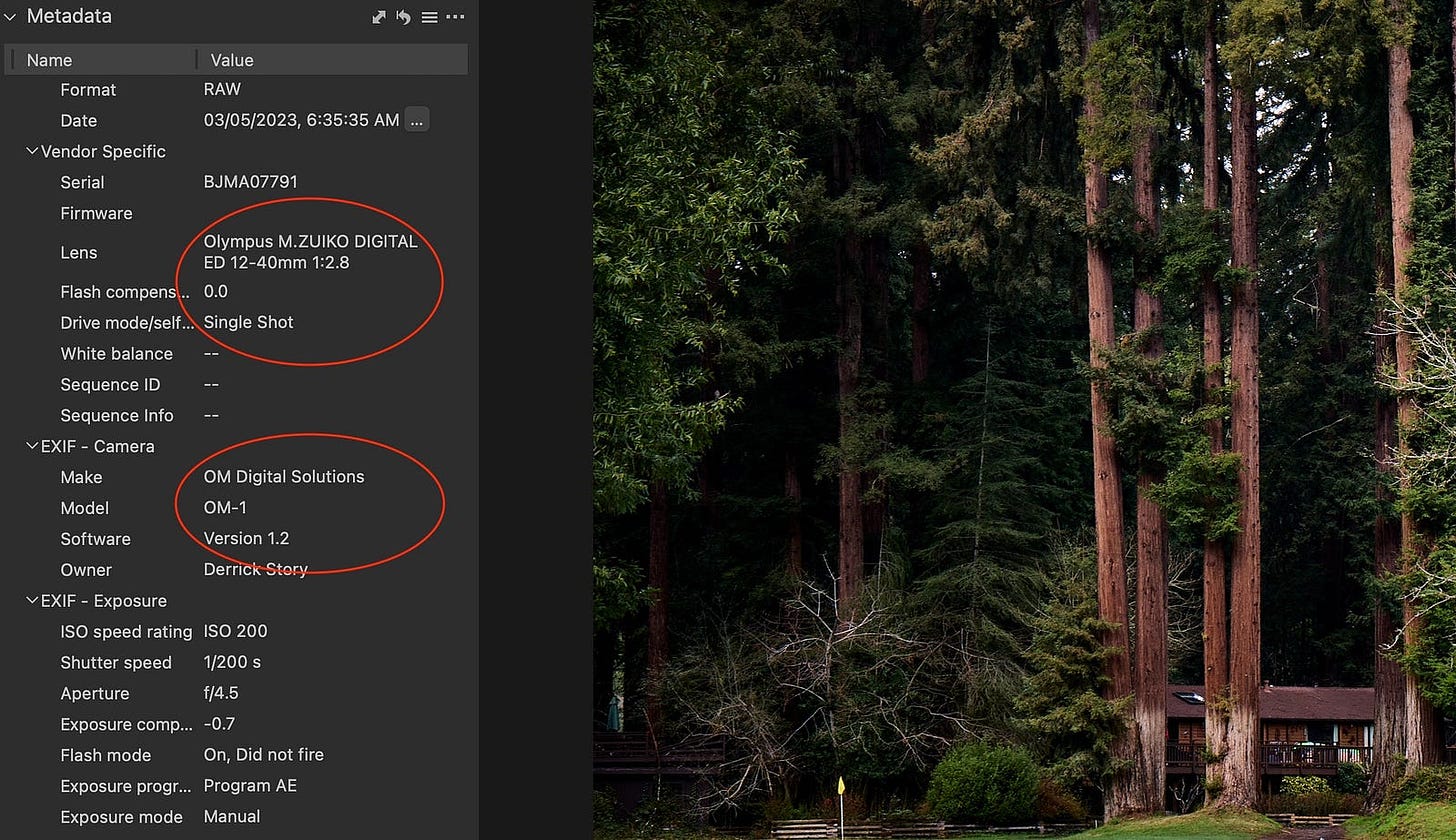
The EXIF metadata for each picture includes information about the camera and the lens. Jpegs, during their in-camera baking process, use this information to build the final image. Those decisions are determined by the Jpeg recipe.
RAW files allow us to make these choices later, outside of the camera. And the options selected can have a noticeable effect on the appearance of the image. Early corrections may include tweaks to compensate for distortion, mitigate chromatic aberration, improve lens sharpness, and apply noise reduction.
Examples of “Preprocessing” RAW Files
As I mentioned, I’m calling this “before you start editing” step preprocessing. Technically, you could argue that. But for the moment, I’ll run with it. Let’s look at some ways to do this.
Capture One Pro
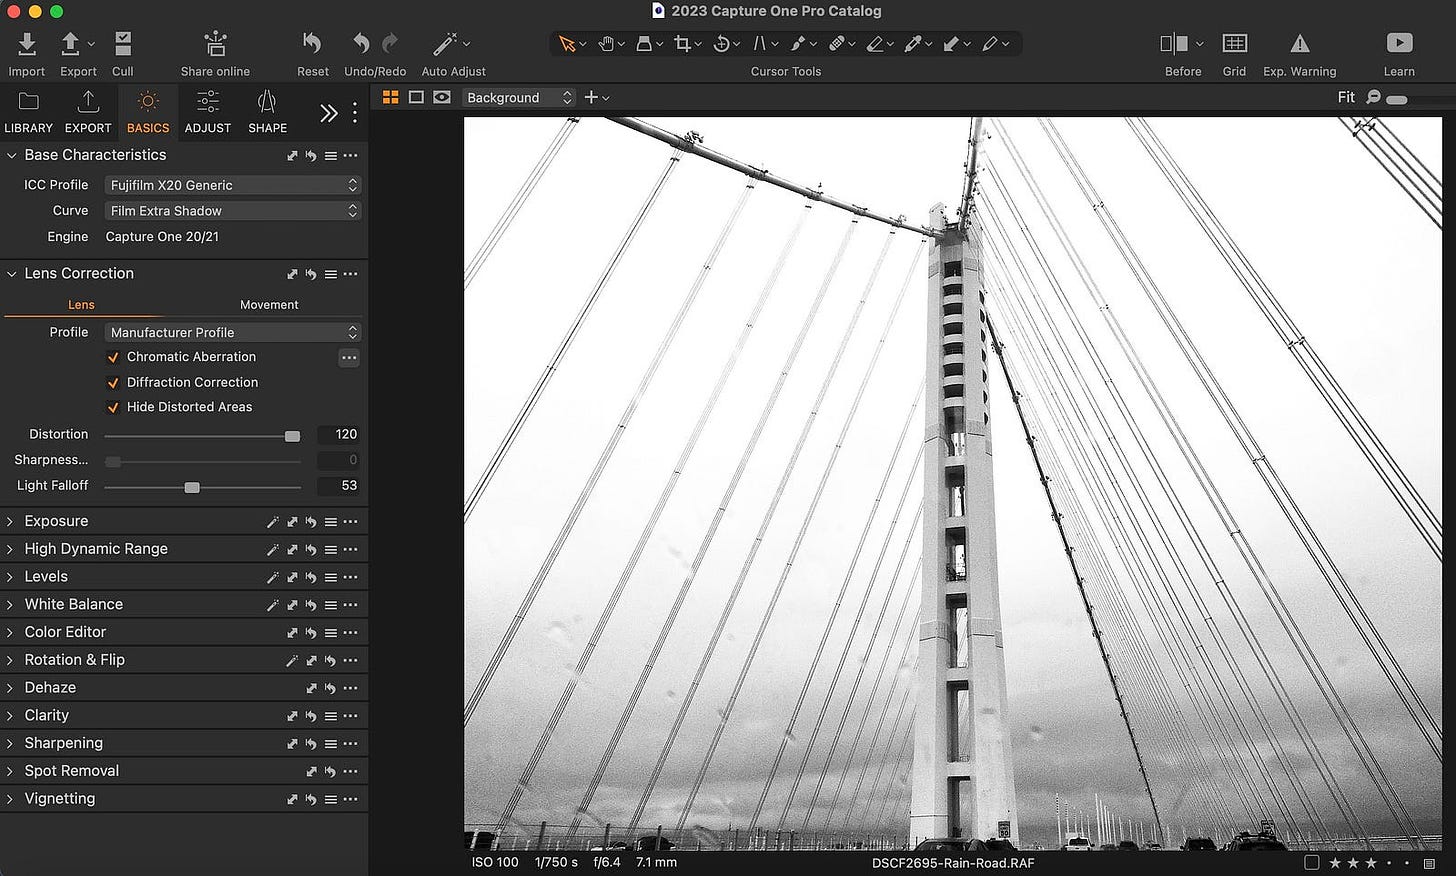
In Capture One Pro, you have some say over the initial presentation of the RAW file via Base Characteristics and Lens Correction. With a RAW file open, these panels allow you to choose a color curve, adjust distortion, tweak sharpness, and even offset diffraction. If those panels are grayed out, you’re looking at a Jpeg, not a RAW file. Preprocessing for Jpegs happens in the camera without your influence. This is another benefit of shooting RAW.
Lightroom Classic
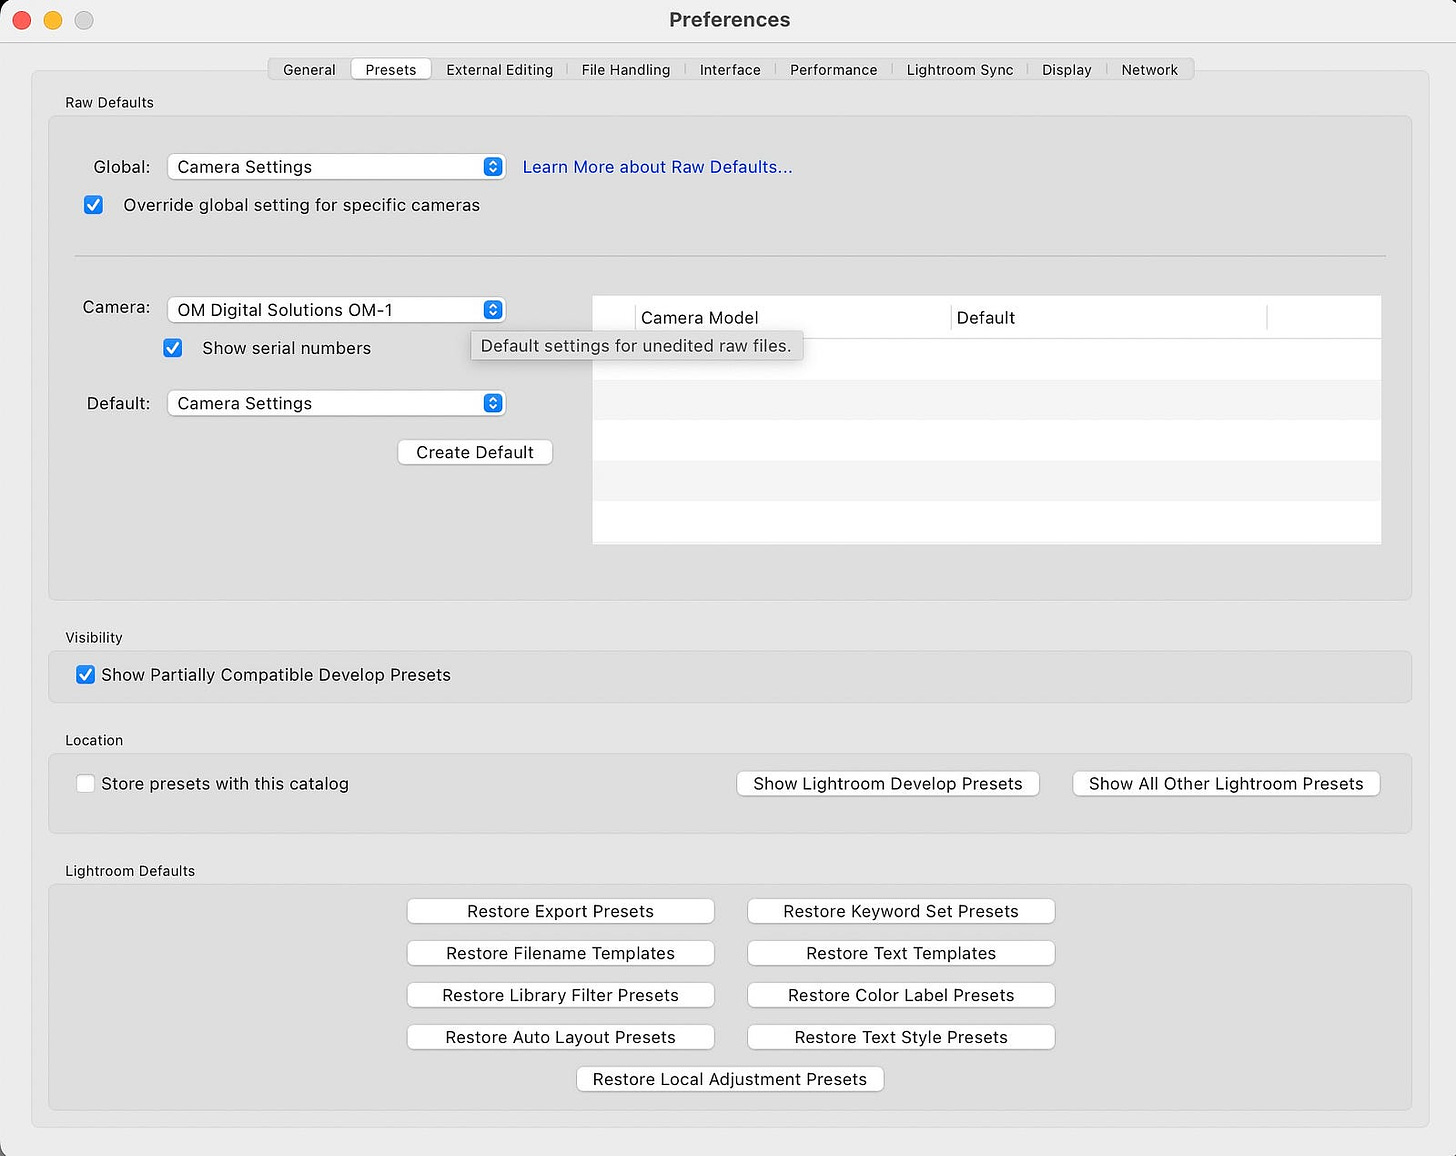
Let’s jump over to Lightroom Classic. Here you can set up preprocessing defaults that are applied while importing your RAWs. In Lightroom on a Mac, go to Settings > Presets and choose your interpretation choices that can be used during import. If you have a favorite recipe, you can designate it as the default. Plus, Lightroom supports optical corrections. You can find them in the Develop module.
DxO PureRAW
Another approach is what DxO does with its PureRAW product. In this scenario, you use a separate application to preprocess the RAW files before sending them to your image editing software. And there are some fantastic tools you can tap into using PureRAW.
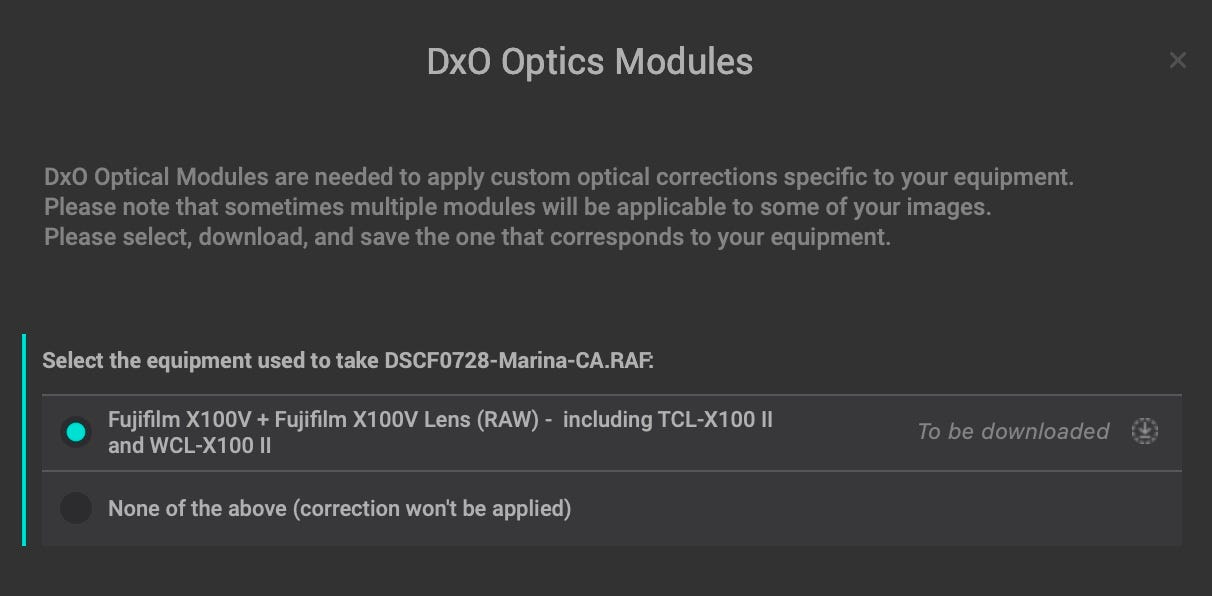
When you bring an image into PureRAW, the software identifies the camera and lens used to capture the image (again metadata), then downloads corresponding optics modules that apply corrections to the picture. Next, it provides you with options for de-noising and optimizing tone and color. Their key technology for this is called DeepPRIME. And there are different levels you can choose from, depending on how intense you want the optimization.
Once you’ve preprocessed the RAW file in PureRAW, you can export it as a DNG, TIFF, or Jpeg with all of the corrections embedded. Then you can open it in your favorite image editor and apply creative adjustments.
(I sometimes export both a DNG and a Jpeg at the same time. At this point, the Jpeg is pretty darn good. And if I see something that I want to change, I can open the DNG and add my creative edits.)
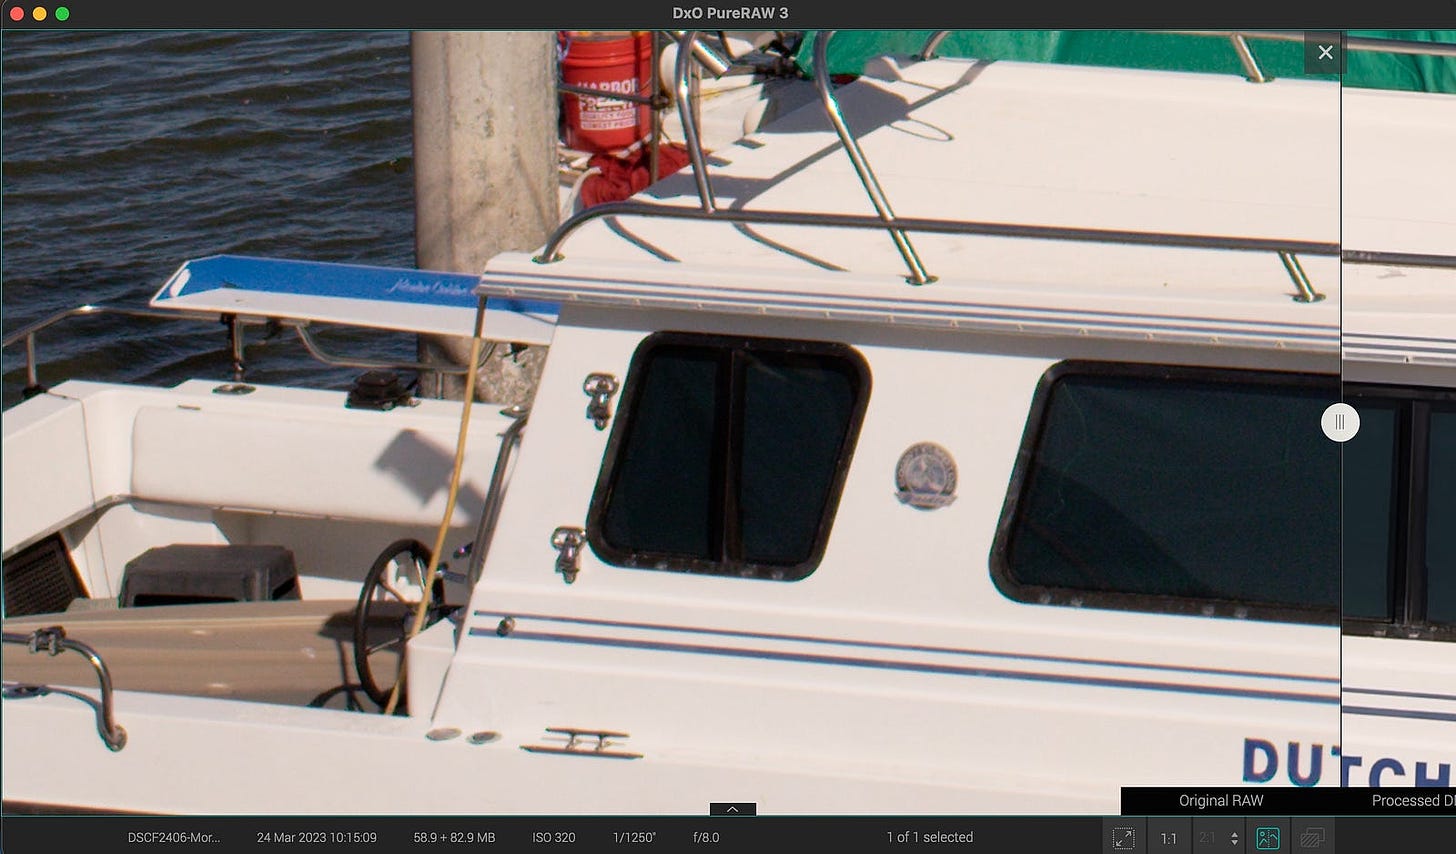
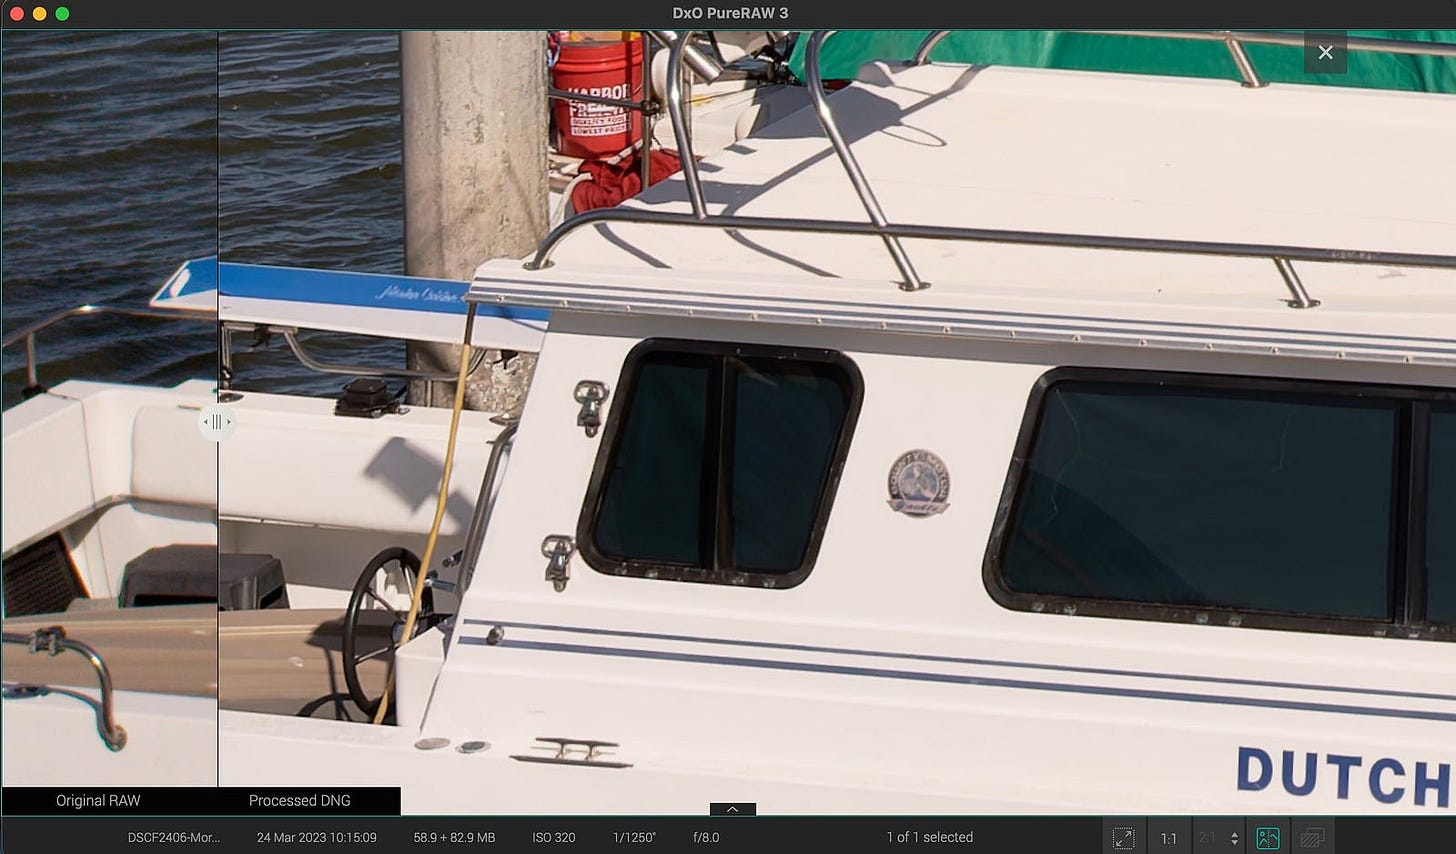
If you want to reward yourself for the extra effort of preprocessing, zoom in to 200 percent and compare the original RAW with the optimized DNG. The results are impressive.
Is This a Workflow for Every Picture?
Capturing in RAW, preprocessing the file, and creatively enhancing the photo in your favorite image editor is not a workflow for every snap of the shutter.
Photographers take a lot of pictures. And every birthday party and family gathering doesn’t need to be immortalized in a multi-megabyte file with the extra time required for extended RAW workflow.
A good example is what happens when you take an already big RAW file, preprocess in DxO PureRAW, export it as a DNG (more than doubling its size), then edit it in Lightroom. An entire batch of Jpegs would take up less space on your hard drive than this single DNG.
Also, keep in mind that these advanced processing tools require a fair amount of computer horsepower. So if your Mac or PC is more than a couple of years old, you’ll endure even longer waiting times during optimization.
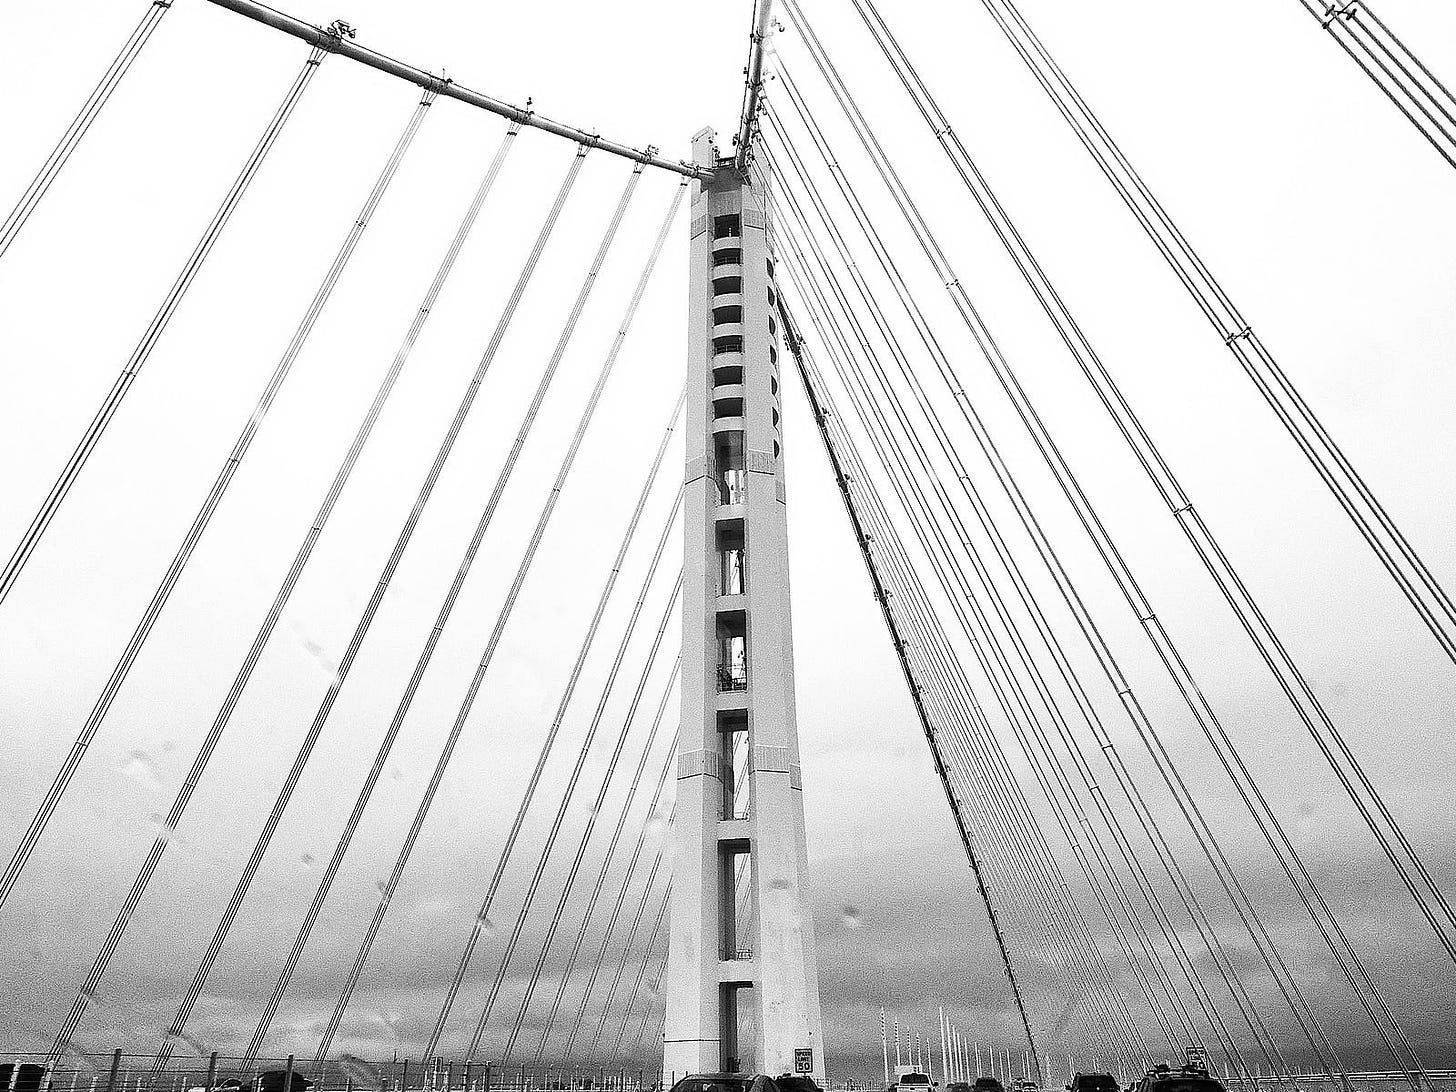
But for those images that benefit from squeezing every ounce of quality out of the capture, such as a prized landscape photo, it’s nice to know that the tools exist for you to channel your inner Ansel Adams.
What About Jpeg+RAW?
For me personally, this is the ultimate approach that facilitates creativity, allows for immediate gratification, yet provides for ultimate quality and choice if required.
A common scenario is when I want to use film simulations with my Fujifilm camera. For B&W work, I like Monochrome+Y or Acros+R. If I capture in RAW+Jpeg, the camera will provide me with a fully baked Jpeg using the color science of the film recipe I selected, plus include a fully editable RAW file if I decide that I want to go in a different direction. It is cake, and eat it too.
A Side Note About Editing Jpegs
Reading this article, you may conclude that only RAW files are editable and Jpegs rely solely on in-camera processing. That isn’t true. We all know you can edit a Jpeg in your favorite photo application. But there are limits to your adjustments before the image begins to degrade.
Every time you edit and resave a Jpeg, you lose a little quality through recompression. Plus, during in-camera processing, a lot of visual information is discarded that isn’t recoverable later, unless you tap AI to fill in the missing bits.
So yes, you can lightly edit a Jpeg, and it will probably look just fine. But if you really want to pull out shadow detail, darken a sky, and recover highlights, there isn’t as much to work with compared to RAW.
That being said, if you nail the shot in-camera, a Jpeg can look every bit as good. But if you want to edit and enhance, you’re better off with a RAW file.
Important Takeaways
Most enthusiast photographers and pros know the value of RAW files. But their worth has appreciated thanks to the preprocessing tools available with advanced software. For example, DxO PureRAW uses AI for its file optimization. That just wasn’t available a few years ago. And we will see more evolution in the near future.
Just One More Thing
If this hasn’t occurred to you already, modern software allows us to revisit old RAW files from a decade ago and breathe new life into them. We can now do things that we would never have dreamed of in 2013. It’s an opportunity to fall in love again with our favorite shots.
And that’s the real beauty of RAW. It’s a digital master that you can revisit time and time again, using the latest technology available. What we can do with them today is magical.



As you say - the ability to go back and apply new techniques to old RAW files is one major benefit. The new ‘ai’ denoise in LR is a game changer for me - I shoot quite a bit in low light and this makes previously unusably noise images into keepers.
Would you agree that the optimal first processing step for a RAW file is to use the camera manufacturer’s software for demosaicing the file? This is often recommended to me because manufacturers often do not fully share their secret sauce with other software developers.